Manufacturing Process of Sakai Knives

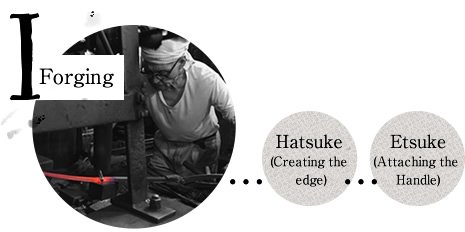
Forging
In the “forging” process, the ji (metal body part) is created, which becomes the base of a Japanese knife. Generally, it is made by forge welding iron and steel and is hammered many times during the process in order to temper it. There are over 10 processes, which require a significant amount of time and proficient skills of the artisans.
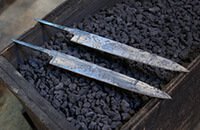
The ji (metal body part) is created in the “forging” process
1
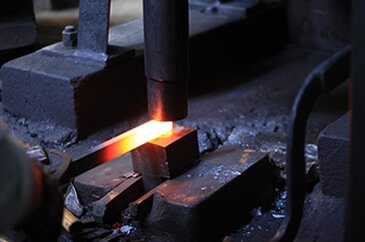
Haganekiri 1 (Base making and cutting)
Generally, Japanese knives are made by forge welding carbon steel (which becomes the edge) to the base made of dead soft iron. Since carbon steel is hard, it is heated until it becomes red-hot and hammered out thinly using a belt hammer.
2
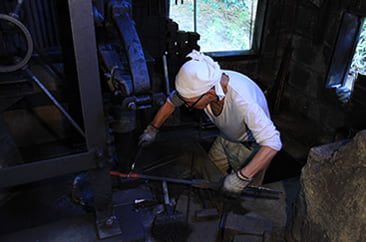
Haganekiri 1 (Base making and cutting)
It is cut into an appropriate length to make the edge.
3
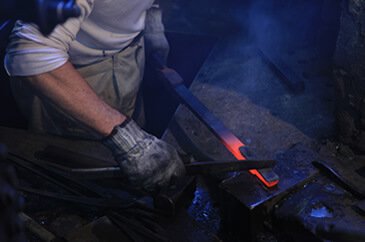
Tanzo 1 (Forging)
The dead soft iron is heated until it becomes red-hot, dusted with borax and iron powder, and welded with the edge part made of carbon steel. It is said that borax and iron powder remove impurities.
4
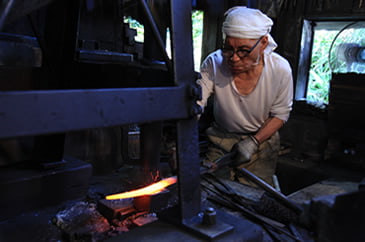
Tanzo 2 (Forging)
It is forge welded by heating it again in a kiln heated to 1000°C.
5
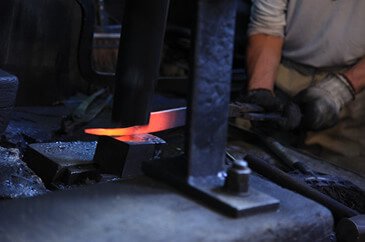
Tanzo 3 (Forging)
The ji is clipped out to create “hankei,” and the nakago part is made by hammering using a belt hammer.
6
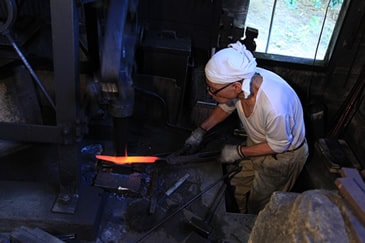
Tanzo 4 (Forging)
The process of heating and hammering out is repeated until it reaches an appropriate thickness.
7
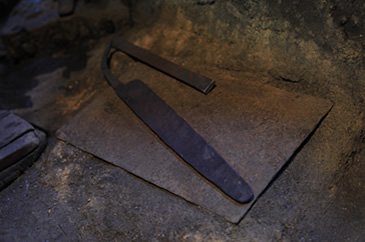
Tanzo5 (Forging)
At this point, it will look like the one in the photograph.
8
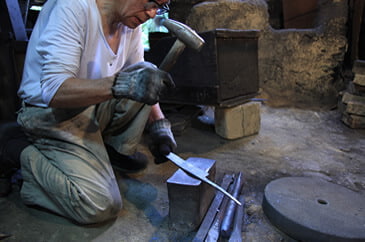
Seikei 1-1 (Shape Forming)
The ji in the previous step is naturally cooled and the layer of iron oxide formed on its surface is knocked off.
9
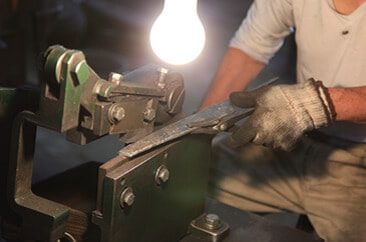
Seikei 1-2 (Shape Forming)
It is hammered to form the flat part and cut into the approximate size (this cutting process is called Aratachi).
10
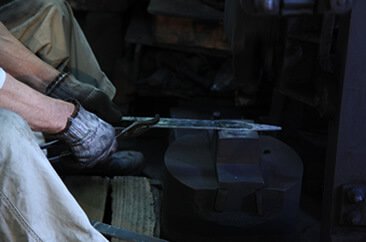
Aratataki (Rough Forging)
It is hammered to form the flat part and cut into the approximate size (this cutting process is called Aratachi).
11
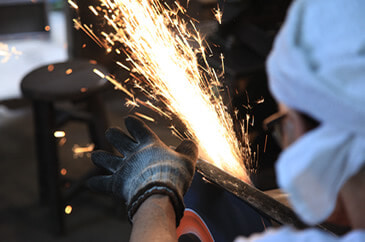
Seikei 2 (Shape Forming)
The rough surface of ji is smoothed using grinders and buffers.
12
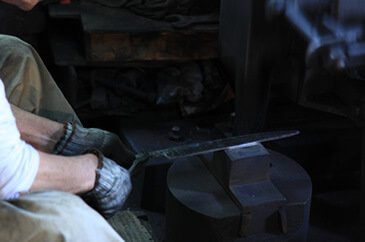
Shiagetataki (Finish Forging)
It is hammered again with a belt hammer.
13
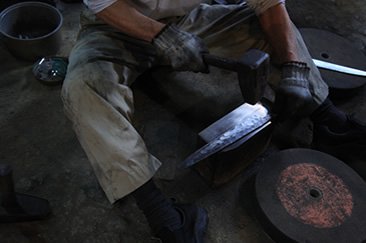
Seikei 3-1 (Shape Forming)
“Urasuki,” the mild concave on the backside of the knife which is vital to making a sharp single-edged knife, is created by hammering using an anvil. After that, the excess is cut off according to the shape of the knife. Then, the cut surface is polished using a grinder, and the shape of urasuki is fixed.
14
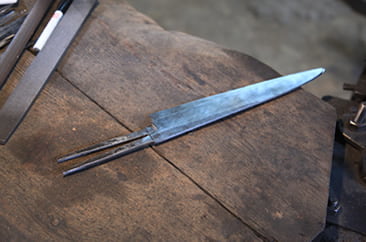
Seikei 3-2 (Shape Forming)
This is how the “ji” looks at this point.
15
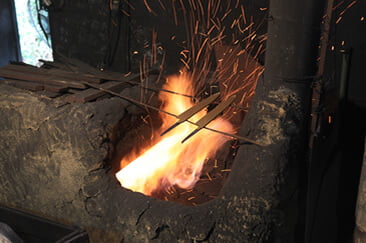
Yakiire/Yakimodoshi 1 (Quenching/Tempering)
To prevent decarburization, it is covered with mud and left to dry.
16
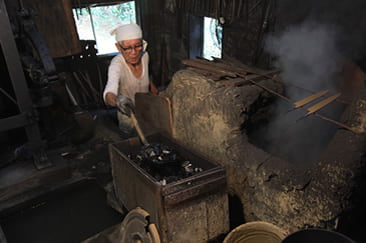
Yakiire/Yakimodoshi 2 (Quenching/Tempering)
In accordance with the traditional method, pine charcoal is used.
17
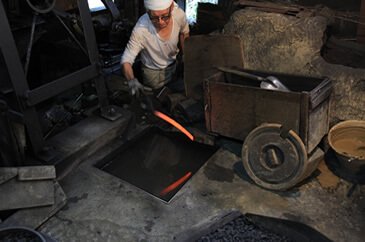
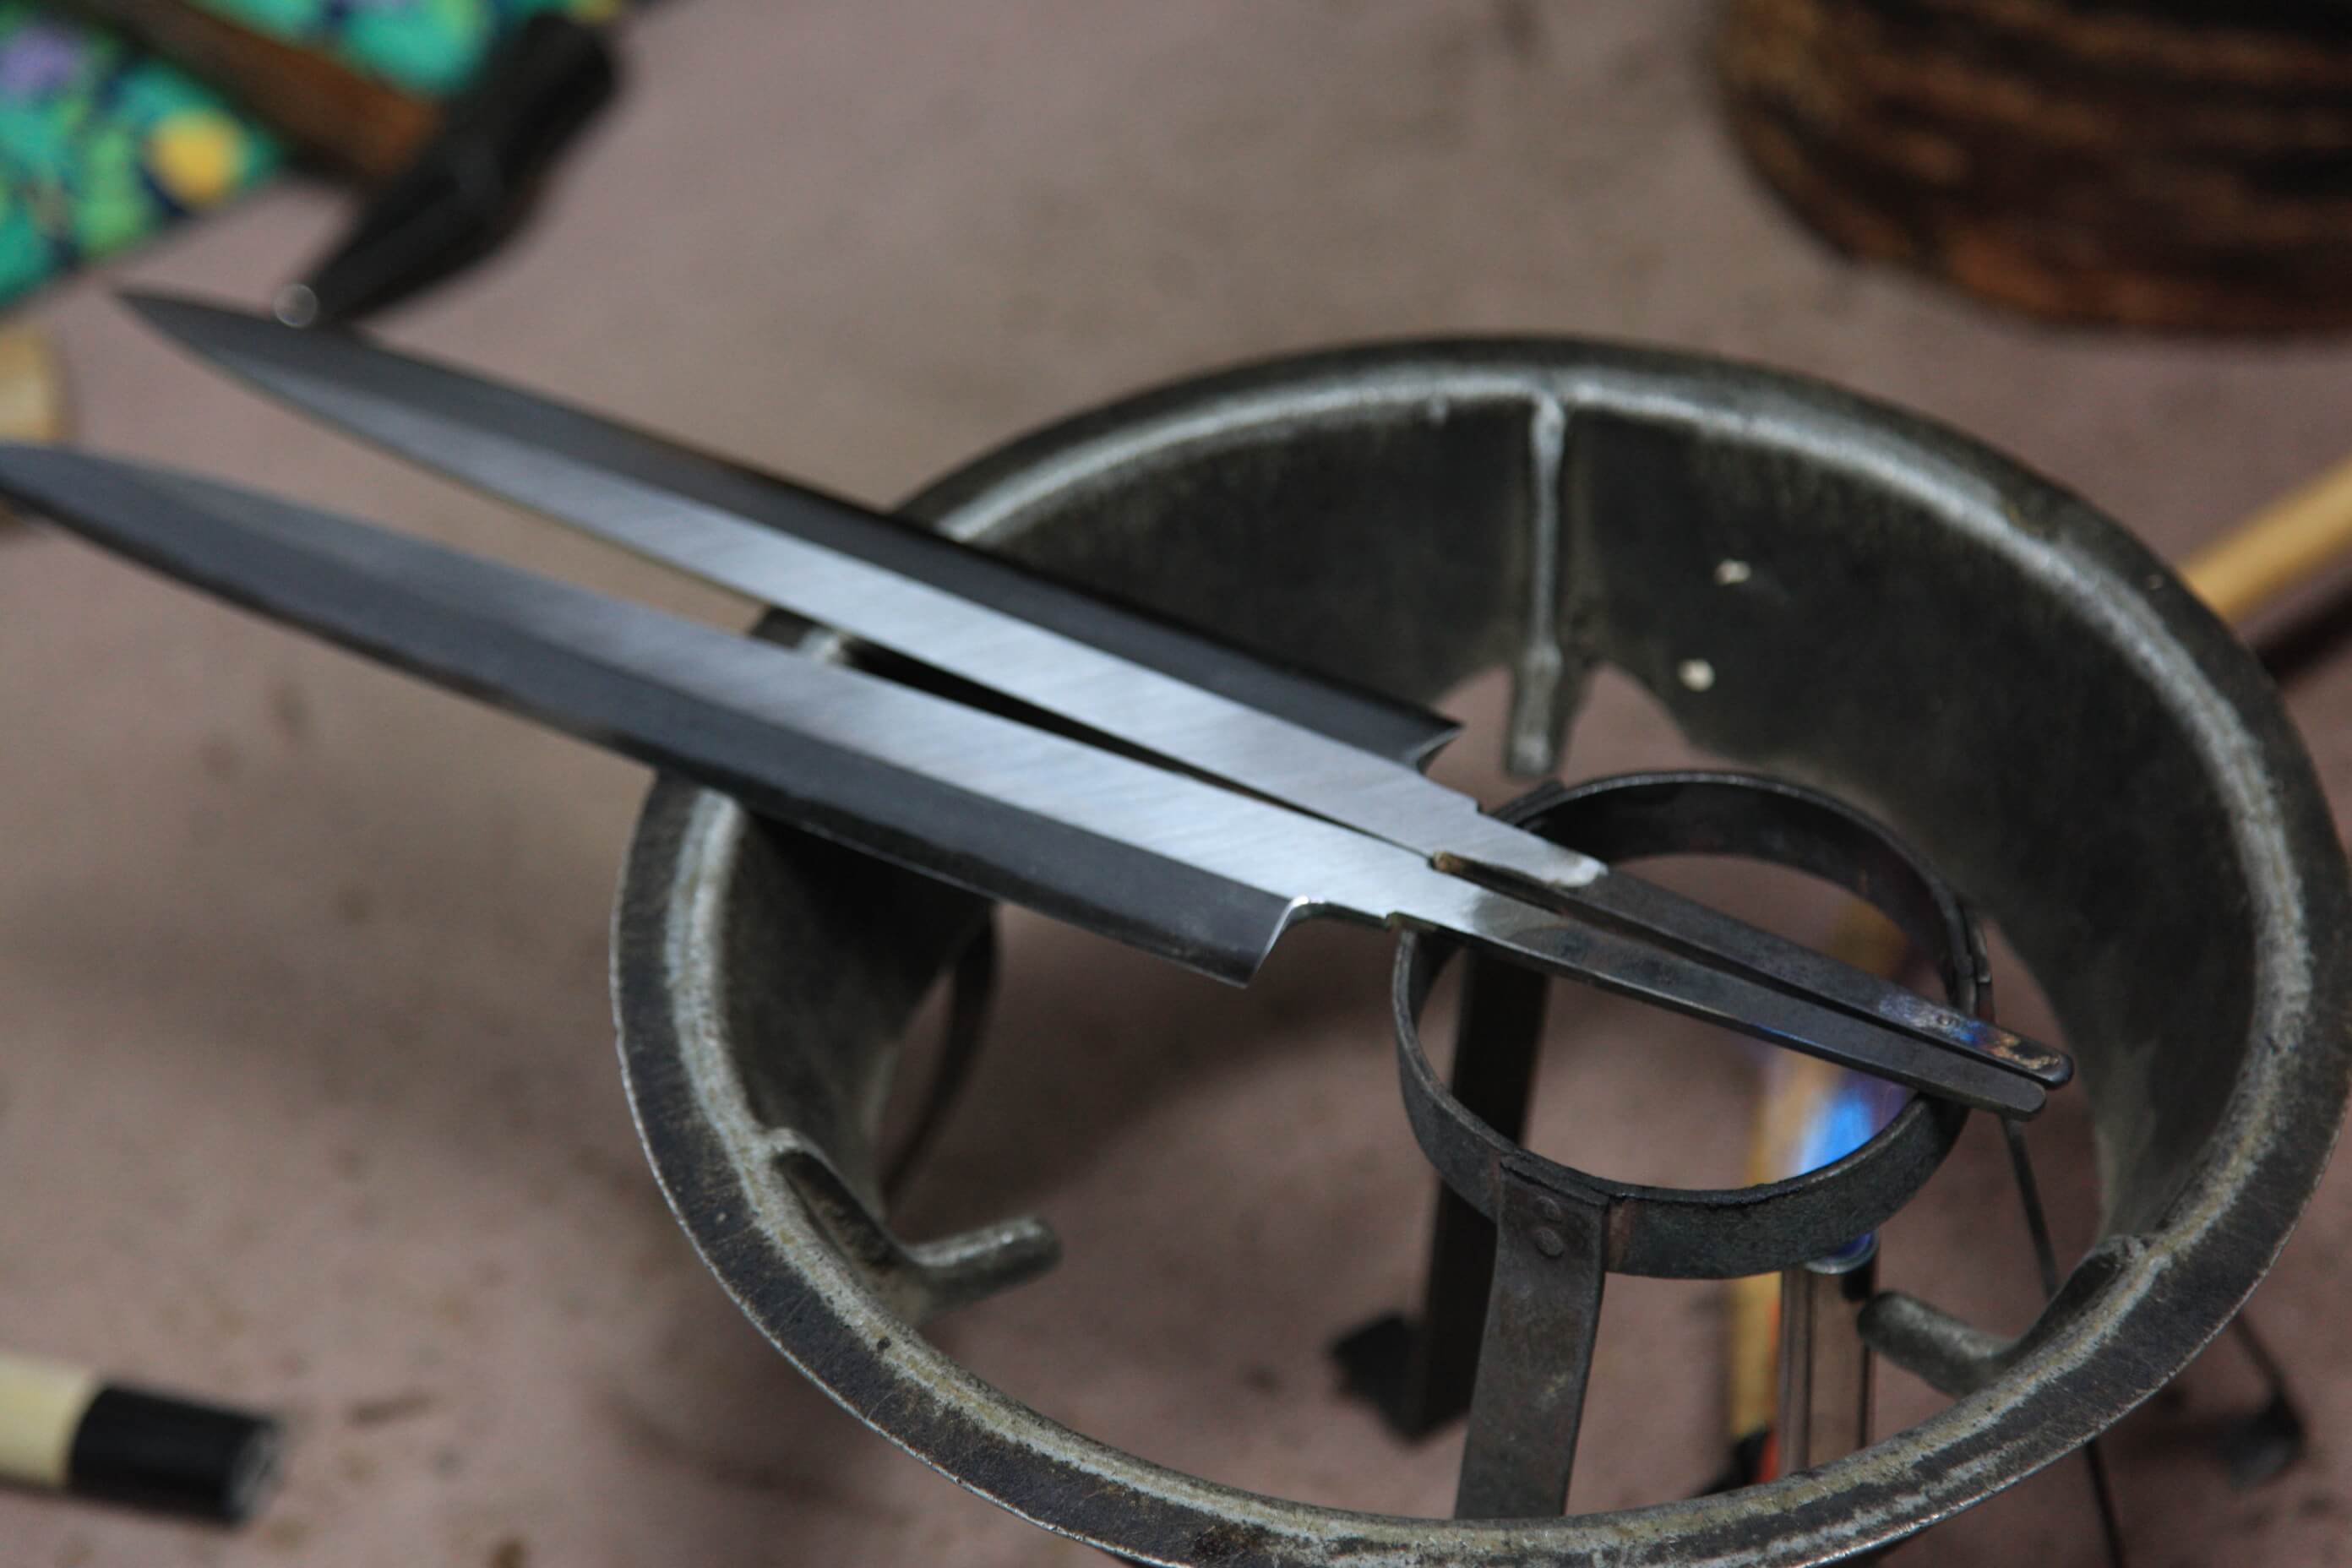
Yakiire/Yakimodoshi 3 (Quenching/Tempering)
After heating it in a kiln at a temperature of 750°C to 800°C, it is cooled rapidly in water to harden the steel. After reheating it at around 150°C to 200°C, a natural cooling method called “yakimodoshi” is used to increase its tenacity. This balance of hardness and tenacity is the key to making great Japanese knives.
18
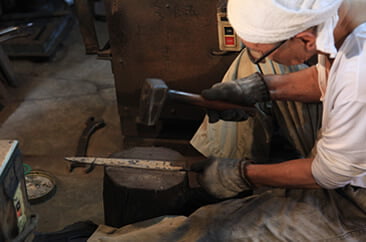
Shiage 1 (Finish)
Since the dead soft iron part of the knife gets pulled toward the hard carbon steel part, adjustment is made with a hammer. After that, the surface is beautifully sanded with abrasive paper.
19
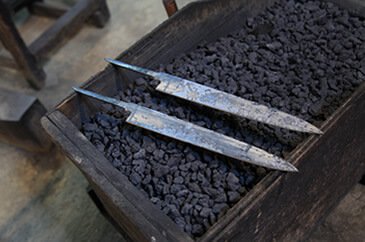
Shiage 2 (Finish)
This is how the “ji” looks when finished.
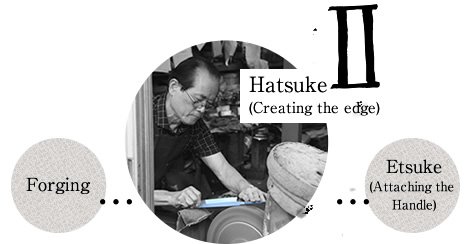
Hatsuke (Creating the edge)
This is the process of hatsuke (Creating the edge) of a single-edged knife which is one of the features of Japanese Knives in Sakai. The “ji” made by the smiths is ground creating an edge and is made into a beautiful, sharp knife. There are over 10 processes, and the edge is created carefully by using the skills of artisans backed by experience and by spending time and effort.
1
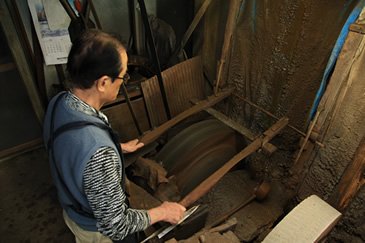
Aratogi 1 (Rough Sharpening)
Remove dirt from the whole ji (metal body part) using a vertical sharpening wheel. Using a wooden mold, press the ji against the sharpening wheel, and sharpen the edge part thinly.
2
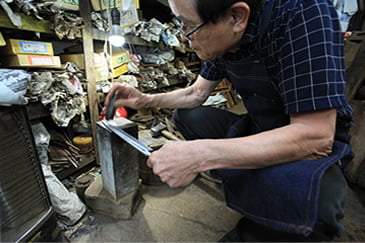
Aratogi 2 (Rough Sharpening)
If the urasuki* (concave on the backside) is not adequately made, create it using a hammer and a chisel.
*The mild concave on the backside of the knife which is vital to making a sharp single-edged knife
3
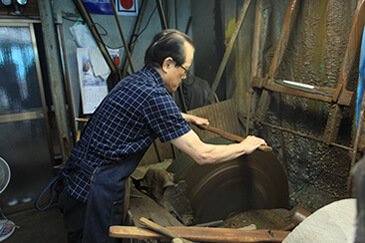
Hiratogi 1 (Flat Sharpening)
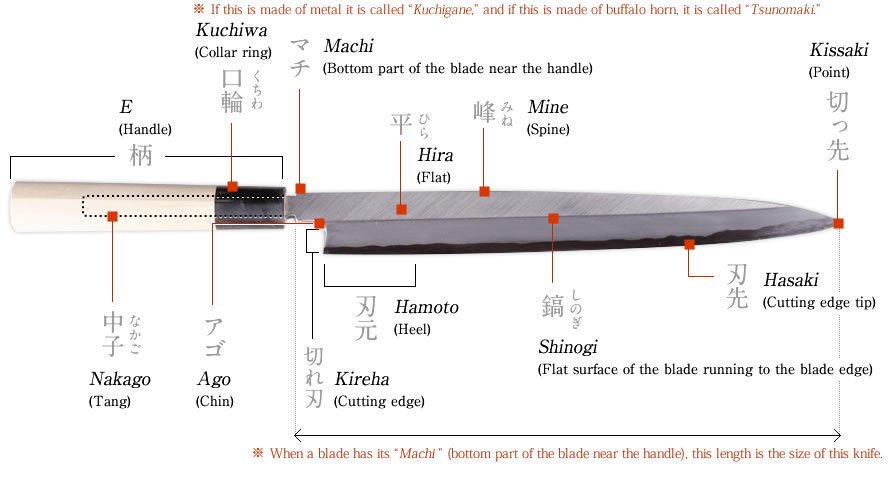
In order to determine the thickness, grind the ji so that it becomes flat from the borderline between shinogi (ridge) and hira (flat) to the mine (spine).
4
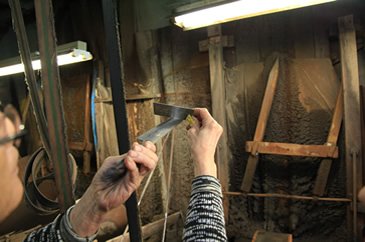
Hiratogi 2 (Flat Sharpening)
Fix the deformation, and if the urasuki* is not adequately made, fix it using a hammer and a chisel.
*The mild concave on the backside of the knife which is vital to making a sharp single-edged knife
5
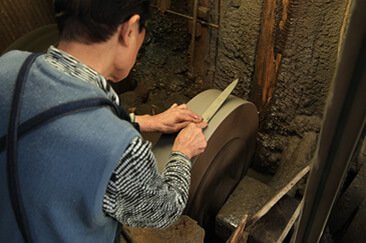
Hontogi (Fine Sharpening)
Sharpen it more using a finer sharpening stone, and determine the angle of the knife’s edge. Sometimes, natural sharpening stone is used in this step.
6
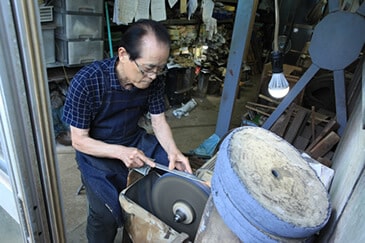
Bafuate (Buffing)
Beautifully polish the surface using coarse, medium and fine finish buffers. If you want a mirror finish, polish it using a finer buffer.
7
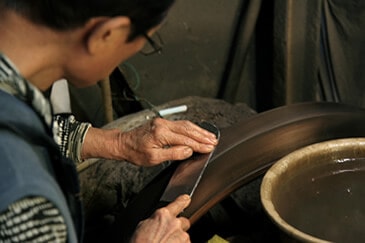
Kidoate (Buffing with Wood)
Bring out luster by polishing it with a spinning sharpener made of pine tree. Fix the deformation, and if the urasuki* is not adequately made, fix it again using a hammer and a chisel.
*The mild concave on the backside of the knife which is vital to making a sharp single-edged knife
8
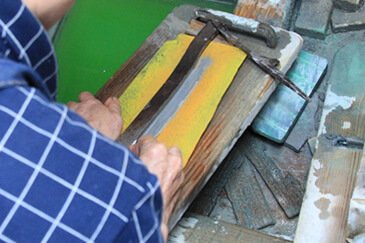
Bokashi & Shiage (Tarnish & Finish)
Accentuate the steel part by scrubbing the surface using a rubber piece and powder of natural sharpening stone to create a hazy tarnish called Kasumitogi.
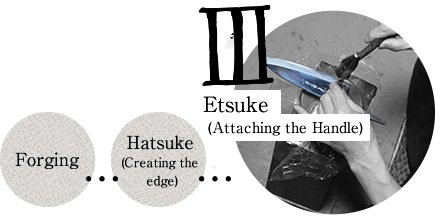
Etsuke (Attaching the Handle)
This is the process of attaching the handle to the blade made by the smiths and hatsuke artisans. There are artisans specializing in making handles, creating a wide variety of handles.
1
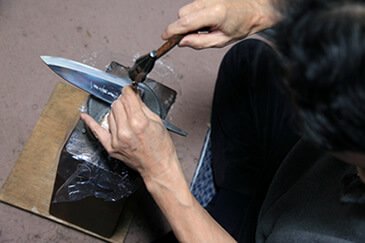
The maker’s seal
The maker’s seal and/or signature are engraved onto the finished blade.
4
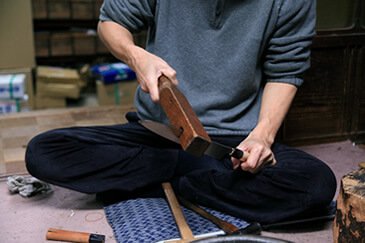
Correction of Distortion
The knife’s distortion is corrected.
The Names of Each Part of a Japanese Knife
