Japanese Knives in Sakai
Brilliant Edge
Japanese Food Culture
Supported by the Skills of Artisans
It is said that 90% of chefs
have used Japanese Knives in Sakai.
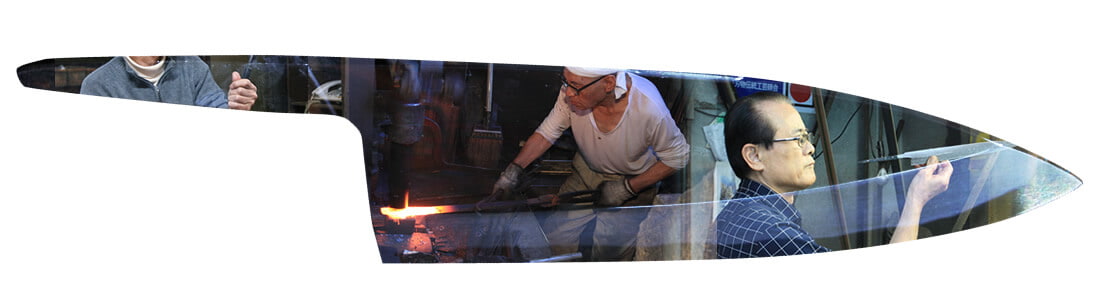
The outstanding skills of artisans
create its unparalleled sharpness,
and this unquantifiable difference
realizes the ideal of chefs.
Features of Sakai Knives
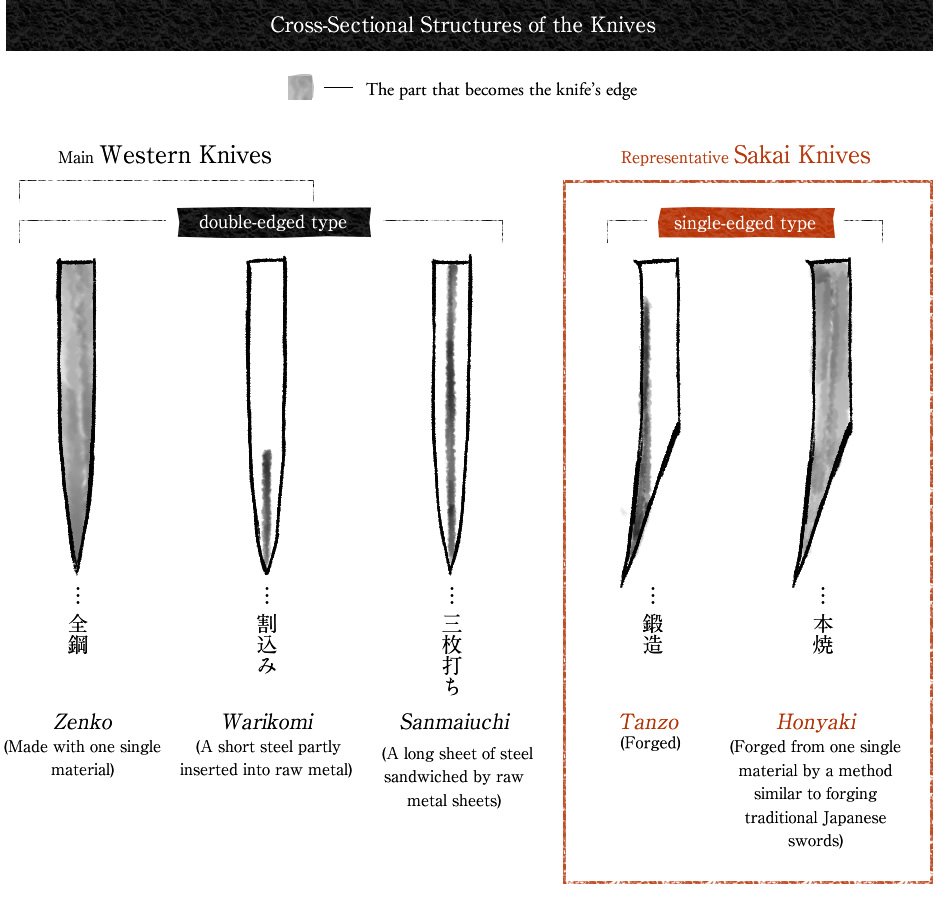
The features of Japanese Knives in Sakai are that they are single-edged and are forged. Since they are single-edged, they have a very sharp edge as shown below, and their excellent sharpness maximizes the taste and flavor of the ingredients. Also, forged knives whose name in Japanese come from hammering many times are hard-to-chip because the molecules of steel are made fine by hammering and have an elastic, tenacious, and long-lasting sharp edge.
Manufacturing Process
Hammered over and over again
That is why it is called Sakai “Forged” Knife
The uncompromising manufacturing process has not been changed for 600 years
As the name Sakai Forged Knives implies, Japanese Knives in Sakai are made by hammering numerous times and through an unparalleled number of hatsuke (Creating the edge) processes. The knives are made by division of labor between many artisans such as smiths specializing in forging or hatsuke as well as artisans who make or attach handles.
Manufacturing process in detail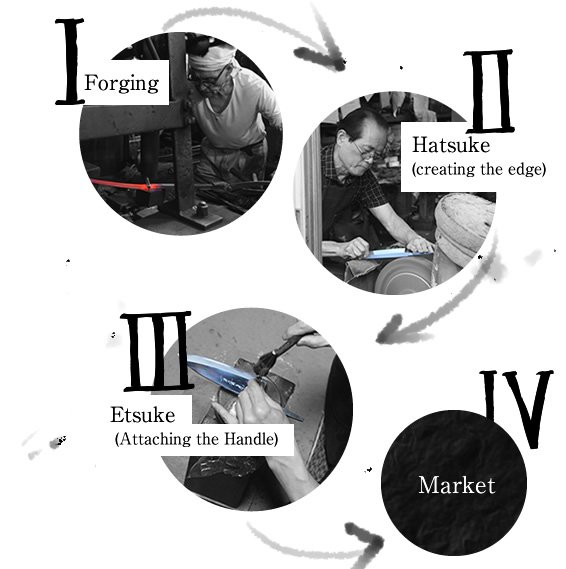

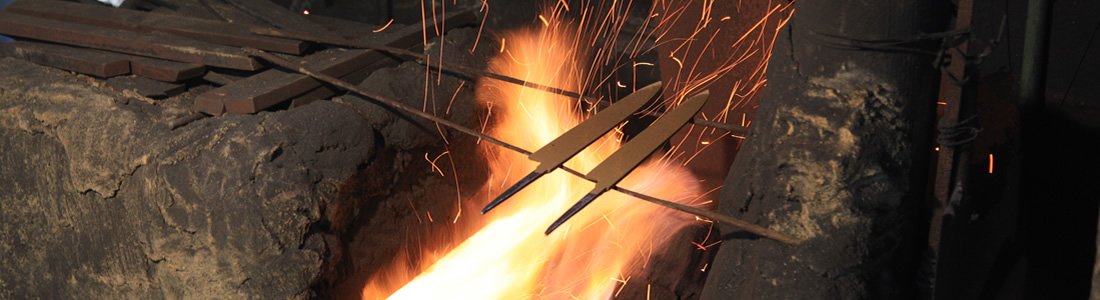
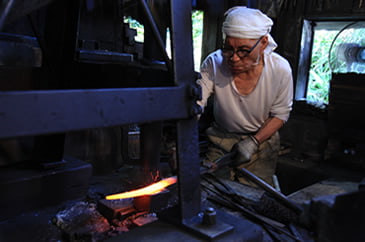
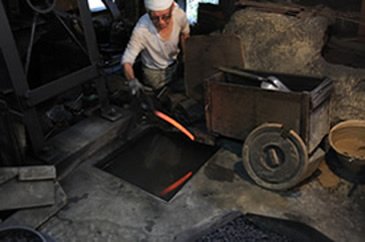
Forging
In the “forging” process, the ji (metal body part) is created, which becomes the base of a Japanese knife. Generally, it is made by forge welding iron and steel and is hammered many times during the process in order to temper it. There are over 10 processes, which require a significant amount of time and proficient skills of the artisans.
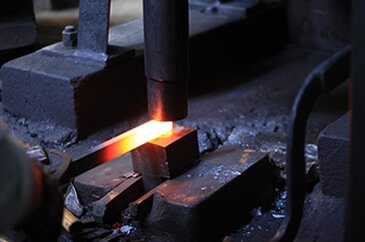
Haganekiri (Base making and cutting)
Generally, Japanese knives are made by forge welding carbon steel (which becomes the edge) to the base made of dead soft iron. Since carbon steel is hard, it is heated until it becomes red-hot and hammered out thinly using a belt hammer.
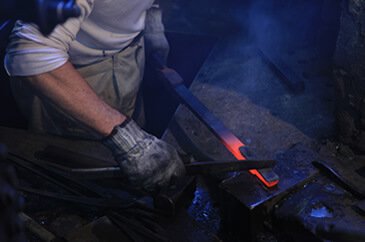
Tanzo (Forging)
The dead soft iron is heated until it becomes red-hot, dusted with borax and iron powder, and welded with the edge part made of carbon steel. It is said that borax and iron powder remove impurities.
Tanzo (Forging)
It is forge welded by heating it again in a kiln heated to 1000°C.
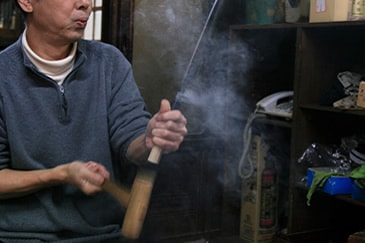
Yakiire/Yakimodoshi (Quenching/Tempering)
After heating it in a kiln at a temperature of 750°C to 800°C, it is cooled rapidly in water to harden the steel. After reheating it at around 150°C to 200°C, a natural cooling method called “yakimodoshi” is used to increase its tenacity. This balance of hardness and tenacity is the key to making great Japanese knives.
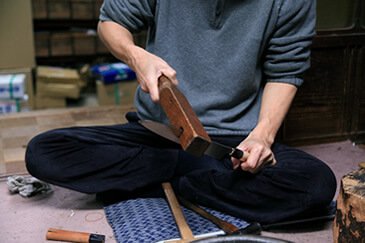
Hatsuke (Creating the edge)
This is the process of hatsuke (Creating the edge) of a single-edged knife which is one of the features of Japanese Knives in Sakai. The “ji” made by the smiths is ground creating an edge and is made into a beautiful, sharp knife. There are over 10 processes, and the edge is created carefully by using the skills of artisans backed by experience and by spending time and effort.
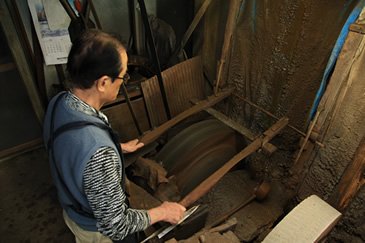
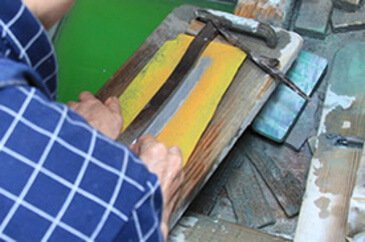
Aratogi (Rough Sharpening)
Remove dirt from the whole ji (metal body part) using a vertical sharpening wheel. Using a wooden mold, press the ji against the sharpening wheel, and sharpen the edge part thinly.
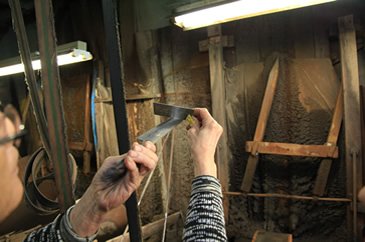
Hiratogi (Flat Sharpening)
Fix the deformation, and if the urasuki is not adequately made, fix it using a hammer and a chisel.
*The mild concave on the backside of the knife which is vital to making a sharp single-edged knife.
Kidoate (Buffing with Wood)
Bring out luster by polishing it with a spinning sharpener made of pine tree. Fix the deformation, and if the urasuki is not adequately made, fix it again using a hammer and a chisel.
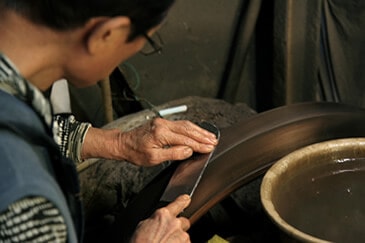
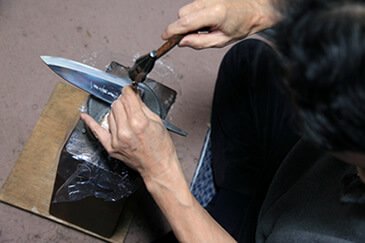
Bokashi & Shiage (Tarnish & Finish)
Accentuate the steel part by scrubbing the surface using a rubber piece and powder of natural sharpening stone to create a hazy tarnish called Kasumitogi.
Etsuke (Attaching the Handle)
This is the process of attaching the handle to the blade made by the smiths and hatsuke artisans. There are artisans specializing in making handles, creating a wide variety of handles.
Engraving seal or signature
The maker’s seal and/or signature are engraved onto the finished blade.
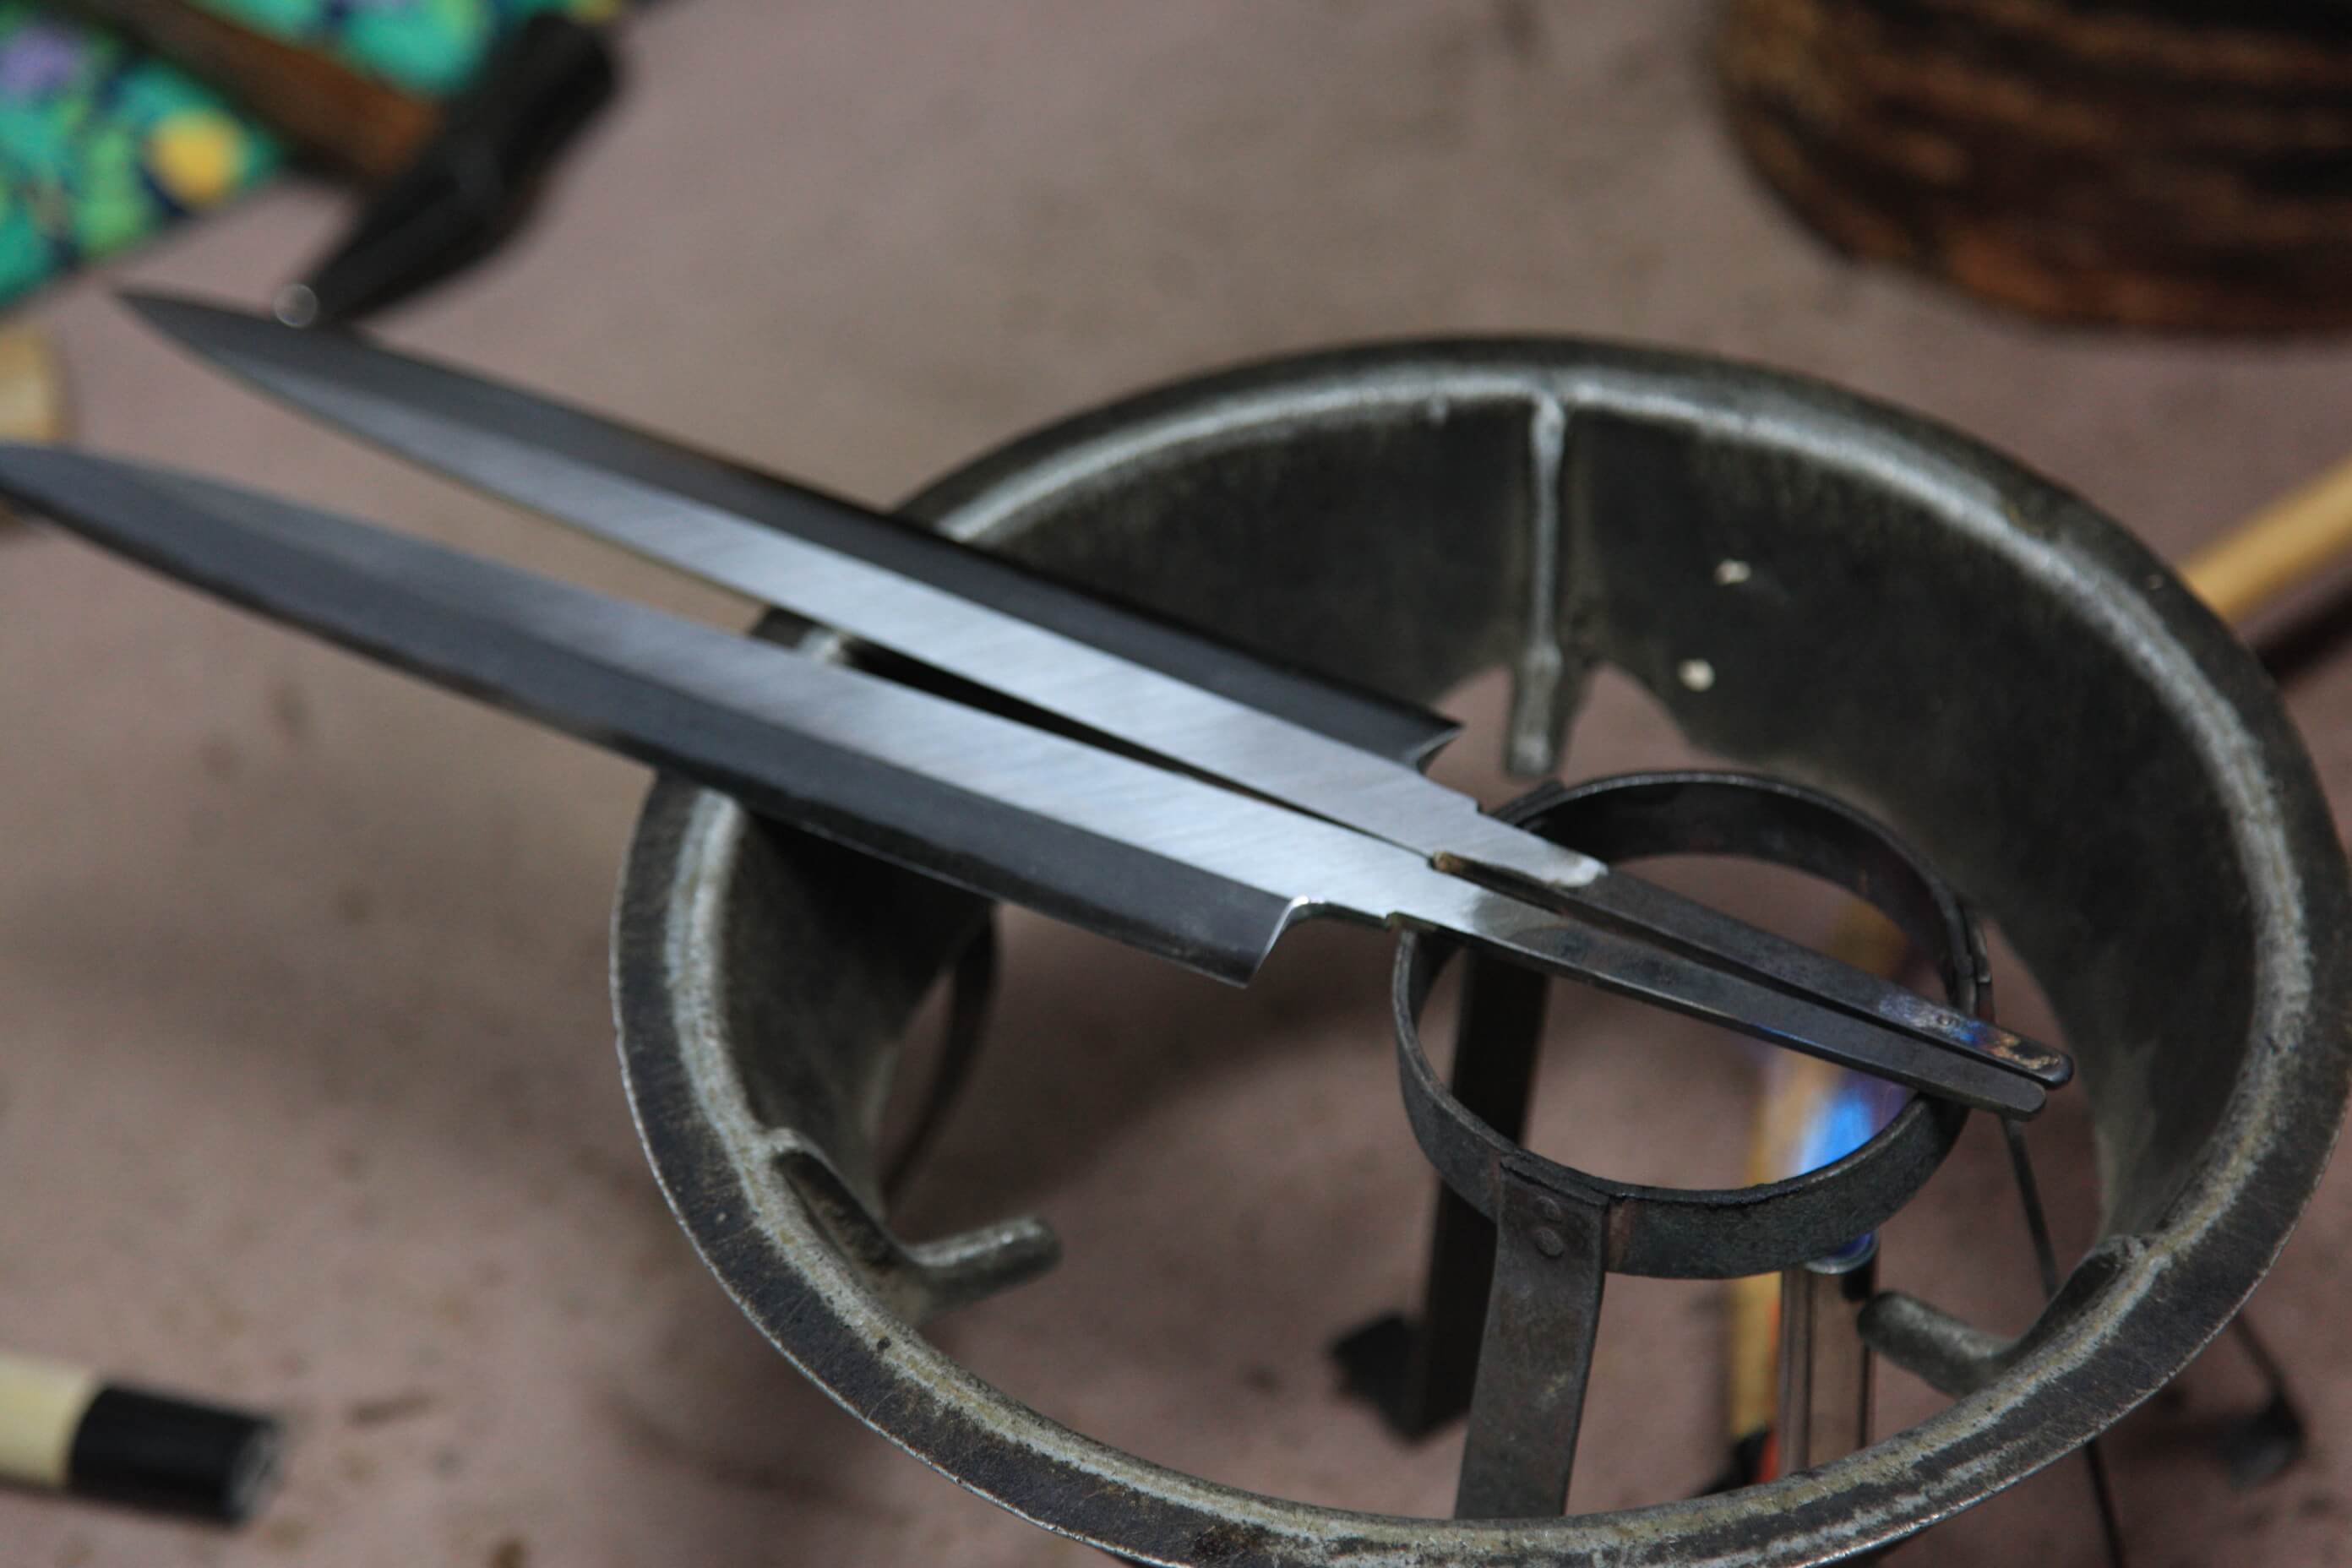
Heating Nakago
Nakago is heated before attaching the blade to the handle.
Etsuke (Attaching the Handle)
The blade is attached to the handle.
Correction of Distortion
The knife’s distortion is corrected.